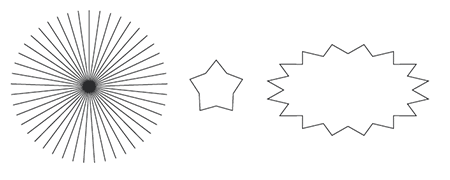
One of the first things you come to hate as a designer is the infamous “starburst.” You know, that “fix-all” thing that clients always want to put in every ad?!
Thankfully, the starburst has worn out its welcome with most clients out there, but should you need to create one... you know, on purpose, there's an easy way to do it in Adobe InDesign, rather than importing an Illustrator .eps file.

Double click the Polygon tool (the tool just below the Rectangle tool), type the number of sides you want your burst to have, you know... if you were actually going to use one in your layout, and type the percentage of inset (how sharp the spikes are in your burst. Now all you have to do is drag the shape out in your document. As you're dragging, you'll see an outline of the burst. If you press the up or down arrow keys while dragging, you can increase or decrease the number of spikes. If you press the right and left arrow keys while dragging, you increase or decrease the depth of the spikes.
These aren't huge time-savers, but a few clicks here and there add up by the end of the work week.


Post new comment