 General
Check your iPhone 5 battery replacement eligibility

If you own an iPhone 5, check to see if your battery is eligible for free replacement from Apple. No need to run down to the Apple store, just visit this page for the quick serial number check.

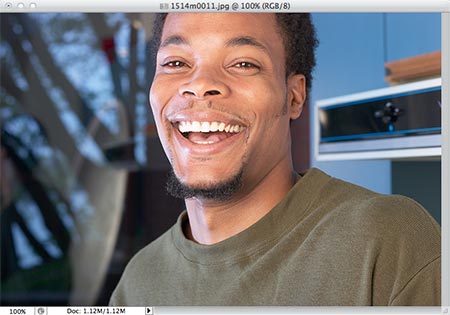
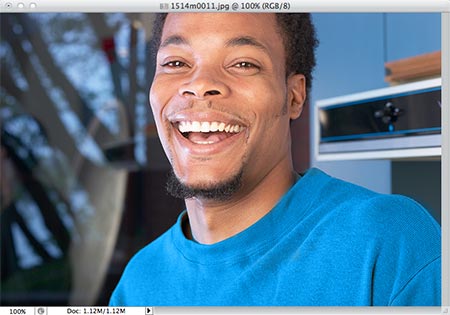
 The Color Replacement Tool is often overlooked by many designers… mostly because it’s a relatively new tool, and partly because it’s somewhat hidden where you wouldn’t expect to find it. It’s not a terribly difficult tool to master, and using it once will show you how often you *could* use it. In Adobe Photoshop CS it is bundled with the Healing Brush tool (another tool many people tend to “forget to use”). In Photoshop CS2, Adobe decided that it needed to be moved next door to the Brush Tool (see image at right). No matter where you happen to find this little bugger, you’re going to love what it can do for you. Lets say you want to change the color of the shirt in a photo to better match your layout. Many folks would spend a lot of time making a mask or clipping path, create a new layer and paint a color over top of the shirt, then adjust the layer transparency settings. Still others would just use Selective Color under the Edit>Adjustments menu and hope that it didn’t alter the image too much. These and other methods work fine, of course, but take much more effort than is necessary.
  To use the Color Replacement tool, choose a color to make the shirt. Then click on the Color Replacement tool icon in the tool bar. Then you’ll need to make some quick adjustments in the Options Bar. First, click the Brush size icon and adjust your brush settings. You’ll want to use a larger brush with a soft edge. Be careful not to make the brush too large though, you want to keep some control.
  Now that you see how easy it is to use and how well it works, play with the color modes, tolerance settings, etc… I think you’ll find it to be quite a useful tool not only for changing colors completely, but simply color correcting them as well.