 Adobe InDesign
Controlling PSD layers after placing in Adobe InDesign documents
I generally only save image files as layered PSD files, it saves space on my hard drive and a load of time when making edits. Another advantage is that you can control which layers show up after you place them in your Adobe InDesign document.
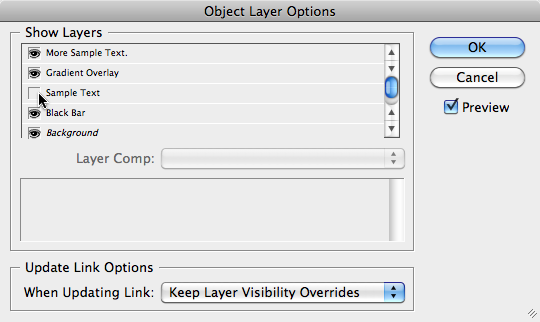
Once you place your PSD file in your InDesign document, select it and choose Object>Object Layer Options… In the dialog box that comes up you’ll see a list of the layers in the placed PSD file. You can simply click the icon next to the layer name to turn it on and off.

If you choose, you can check the Preview checkbox to have the preview image show the changes. I generally leave Previews off because it slows down InDesign tremendously – especially with large layered files. It’s extremely helpful if you name your layers in Photoshop so you know what they are after you place the PSD in your InDesign document.