How to match colors in multiple photos in Photoshop
When faced with the task of taking part of one photo and blending it with another photo, you may run into the problem of color variances that make it obvious that one of the photos doesn’t “belong.” 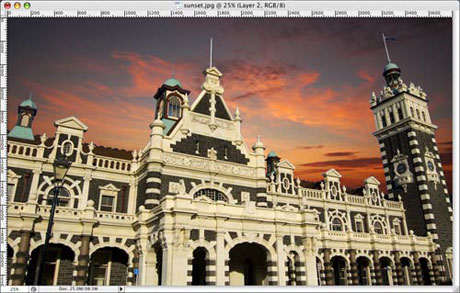 For instance, I want to take a photo of a building which was photographed in mid-day and drop it into a sunset photo. Obviously the photo of the building will look out of place due to the time of day the photos were taken. See the image above for what I mean, the building looks out of place. Fortunately, there’s an easy solution.
 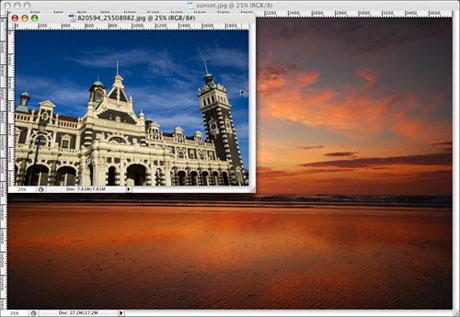 Step 1: Open both your images in Photoshop and make sure both are in RGB color format (CMYK won’t work). Make sure that the image you wish to alter is selected and in front. In this case, I want to alter the building photo to look like it was taken at the same time as the sunset photo, so the building image is in front. See the image above. Step 2: Visit the menu bar and select Image>Adjustments>Match Color… The Match Color dialog box will open and you will be presented with several options. The first thing you want to do is go down to the Image Statistics section and select the Source image from the drop-down menu, in this case it is the sunset.jpg. This can be confusing because the preview shows the image you’re working on, not the source image. See the image below.
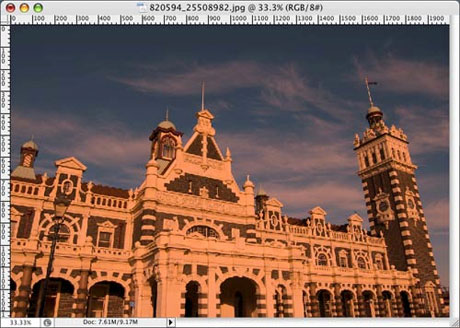
 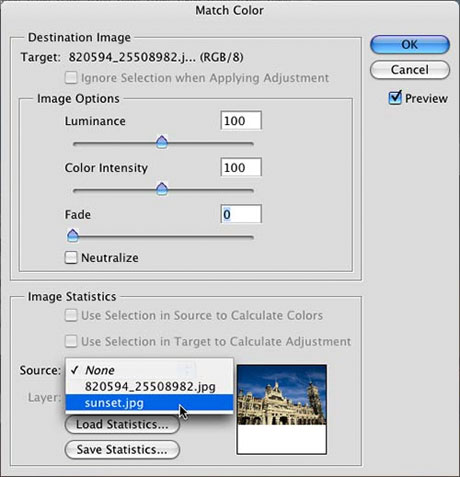 Step 3: You will notice that your working image is now using the colors and tones from the source image. Now you can play with the Image Options in the upper part of the Match Color dialog box. See the image above. Move the Fade slider around to adjust the tone of the colors, and adjust the Color Intensity as well. Once you’re happy with the adjustments, hit OK. As you can see in the image below, the building image is looking better already.
  Step 4: Now simply copy the portion of the image you wish to place into the source image. In this case, I created a selection of the building before hand, so I’m just selecting the building, copy and pasting it into the photo of the sunset.
 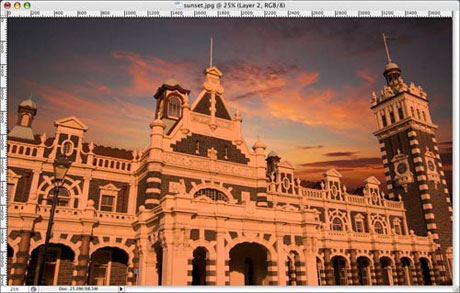 Step 5: You may have to cleanup some of the rough edges of your selection, but that’s it. As you can see in the image above, the building looks more at home in the sunset photo than it did in the first image of this tutorial.

