Easily add vignettes to your Photoshop images
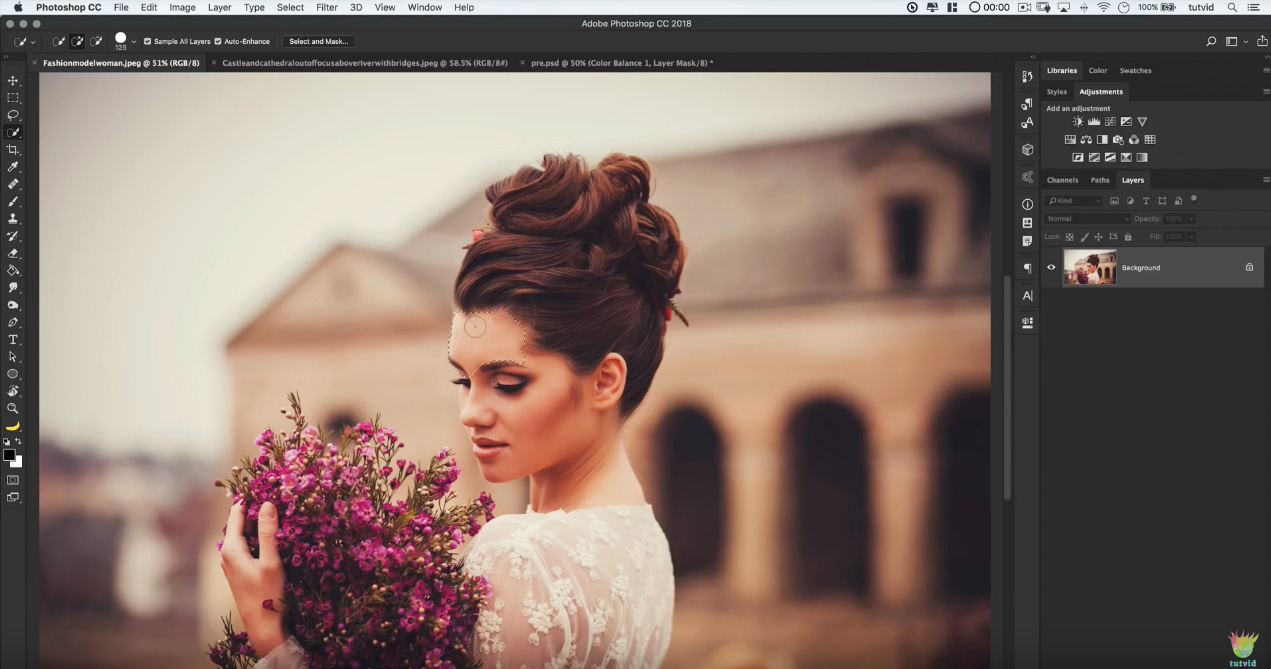
It’s a really old technique, and looks great when done properly. But adding Vignettes for some is overly complex. One of the easiest methods I’ve come across is this tip at LifeClever.  But I’m lazy, so I’ll go even further into the “easy” method. With Photoshop CS2, Adobe added a nifty little filter that does, among other things, vignettes. Here’s how it works: Make sure your image is in RGB mode. Select Filter>Distort>Lens Correction… There are several sections of this filter, but we’re going to use (obviously) the Vignette portion. First thing you may want to do is turn off the grid with the checkbox at the bottom of the dialog window. Slide the Amount slider under Vignette toward darken. This adds darkness around the edges and corners of your image. Now you adjust the amount of vignetting with the Midpoint slider. Move it to the right to have less of the image darkened or to the left to have more of the image darkened. That’s it. You can also apply the same technique to a layer filled with white above your image and set the layer effect to Multiply – this will allow you to adjust the darkness later if you wish.

