idée inc. has a fantastic image-search tool that looks through over 10 million Creative Commons images on Flickr based on the color of your choosing. 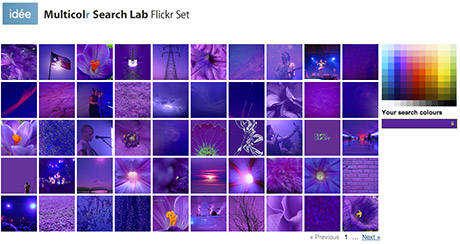 You simply click the color palette on the page to select up to 10 colors at a time and the site displays a wall of image thumbnails which use a predominant amount of the color(s) you chose. While clicking a single color yields impressive results, clicking a few more colors displays a new set of thumbnails (extremely quickly) with remarkable results! I find this site to be incredibly useful, and worthy of bookmarking.
Search for images by color
Malware targets the Mac with rewards
 Think affiliate programs are solely the province of SEO firms and experts? Think again. There’s such a thing as a malware affiliate program, and a very recent one targets Mac users specifically. It’s a sign that cyber-crime is beginning to target Apple more aggressively than it has in the past. Darrell Etherington over at TheAppleBlog has an informative article; There’s a Bounty On Your Mac: 43 Cents Per Malware Infection. With the popularity of the Mac operating system growing more and more every year, it’s wise to stay informed about the potential of virus and malware heading our way.
View detailed WiFi settings in Snow Leopard’s Airport menu
I mentioned a new feature of OS X 10.6 Snow Leopard earlier this week, and today I have another one for you that enhances the Airport menu.
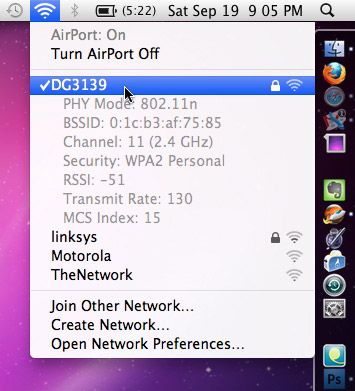
Snow Leopard Airport Menu
View invisible files in Snow Leopard open/save dialog boxes
Snow Leopard (Mac OS X 10.6) brought many refinements to the operating system that aren’t immediately apparent to most users. A lot of tinkering around reveals some very cool additions. One of those hidden features is the ability to view invisible files in Open/Save dialog boxes.
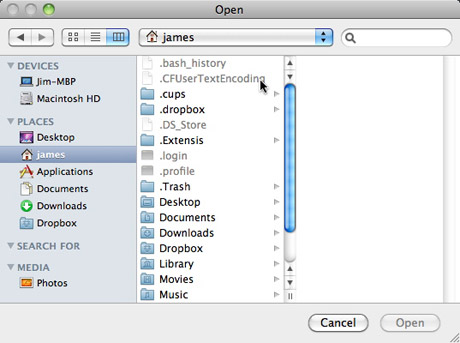
View invisible files in Open/Save dialog boxes
Effective Twitter backgrounds
The Graphic Mac was one of the many Twitter users featured over at Smashing Magazine this past week in their article Effective Twitter Backgrounds. The article discusses different ways you can brand yourself, your company or your product on Twitter via the use of the background image customization on your Twitter page.
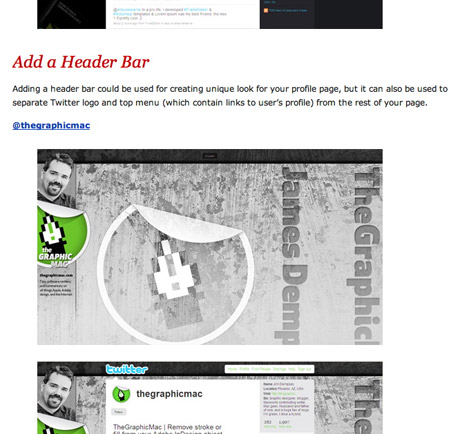
Effective Twitter background images
Free Font: Northwood High
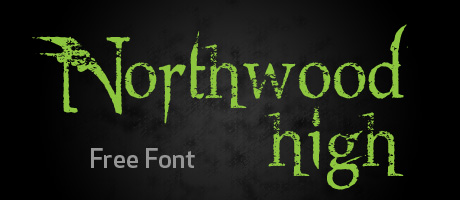 Another great font available for download at DaFont.com. Northwood High contains upper and lowercase letters, numbers and a few necessary punctuation characters.
Creating better perspective transformations in Photoshop Extended
Creating a perspective image in Photoshop generally means just using the Transform>Perspective tool. The results are generally fairly decent, but if you’re a user of Photoshop CS4 Extended you can get better results. Convert your image (or the portion you wish to add perspective to) into its own layer. Select that layer and go to the 3D Menu and choose New 3D Postcard From Layer. Now use the 3D Rotate and 3D Orbit tools in the lower portion of the Photoshop Tools to adjust your image. The tools take a little getting used to, but a little playing around will give you a pretty good idea of how to manipulate your image.
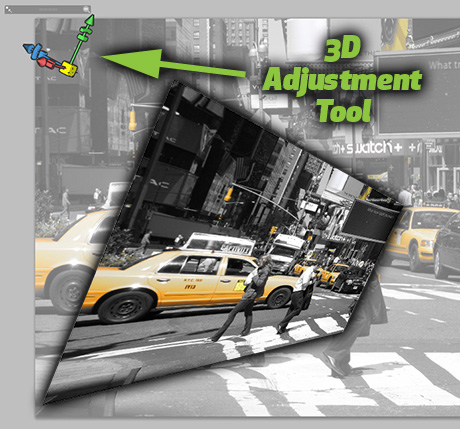
Adding 3D perspective to your image


Rant: Internet assholes and how to spot one
The Expert:
The Expert
The number one way to spot an Internet @$$hole (referred to in the rest of this article as I.A.s) is to look on the potential turd-burglar’s Twitter page in the Bio section. If you see the word “expert” or “S.E.O.” or my favorite “S.E.O. Expert,” you have struck gold. You’ve come across the highest order of I.A. there is. If you follow them, drop them. If they follow you, block them. But for cryin’ out loud, don’t engage them – you’re just feeding wild animals that will eventually knock over your trash can and spill your garbage all over the driveway! Keep reading. There’s plenty more I.A.s out there to learn about.